First of all, I was writing a novel around the time of the last post and as with so much of writing which I find difficult to get down on paper (or on the screen, LOL) I used images, my paintings or often photographs to try to free up the flow of words.
These photos presented here are composite photos. I.e. using images "cut" from a photo to form a different, often more expressive image. I know this is a little bit of a cheat but my main ob jective here is to be able to help my writing come together,
The first two are very simple and really are not much to speak of. I have cut a "figure" from a photo and added it to a background. Nothing very clever, I am not so very useful with photo editing software but it helps the above stated objective.

This first image is of a small garden statue of a wizard, in a garden "folly". I have of course altered the apparent sizes of the two to make it appear as if they are of the same proportions.

In this very similar photo, The figure is a life sized statue of a hooded, seated monk situated in the remains of an old industrial furnace. The furnace was originally used for producing quicklime, but provides a niche for the "hermit". Again I have re-sized the two images to create similar scales.
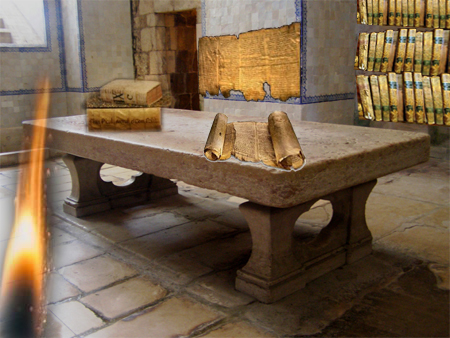
In this image I wanted to create a study/library of the wizard in the story, I chose a stone floored room to be the main background feature. In the room I placed a stone table (or desk) upon whichI placed a pilke of (3) books and an open scroll. In the background there is a shelf of almanacs and a map on the wall. The flame is meant to add "something", whether it works I leave to your own imagination.


A selection of the individual images used in the last composite image above. Of course images are not only resized but may need to be rotated, inverted and otherwise played around with the fit in the overall scene. And not forgetting the need for transforming the shape of an element to make a realistic placement. I.e. a square may need to become a parallelogram if it is placed at a different angle. horizontal instead of vertical for example..
Why not have fun and try this for yourself, there are free photo edit apps on-line or you can download them. Go on have a go!


